
Measurement Guide
Two Post Lift Pads and the Measurements You Need
Measure 2 post lift pads correctly by checking pins, threads, bolt patterns, contact tops, thickness, and overall assembly height.
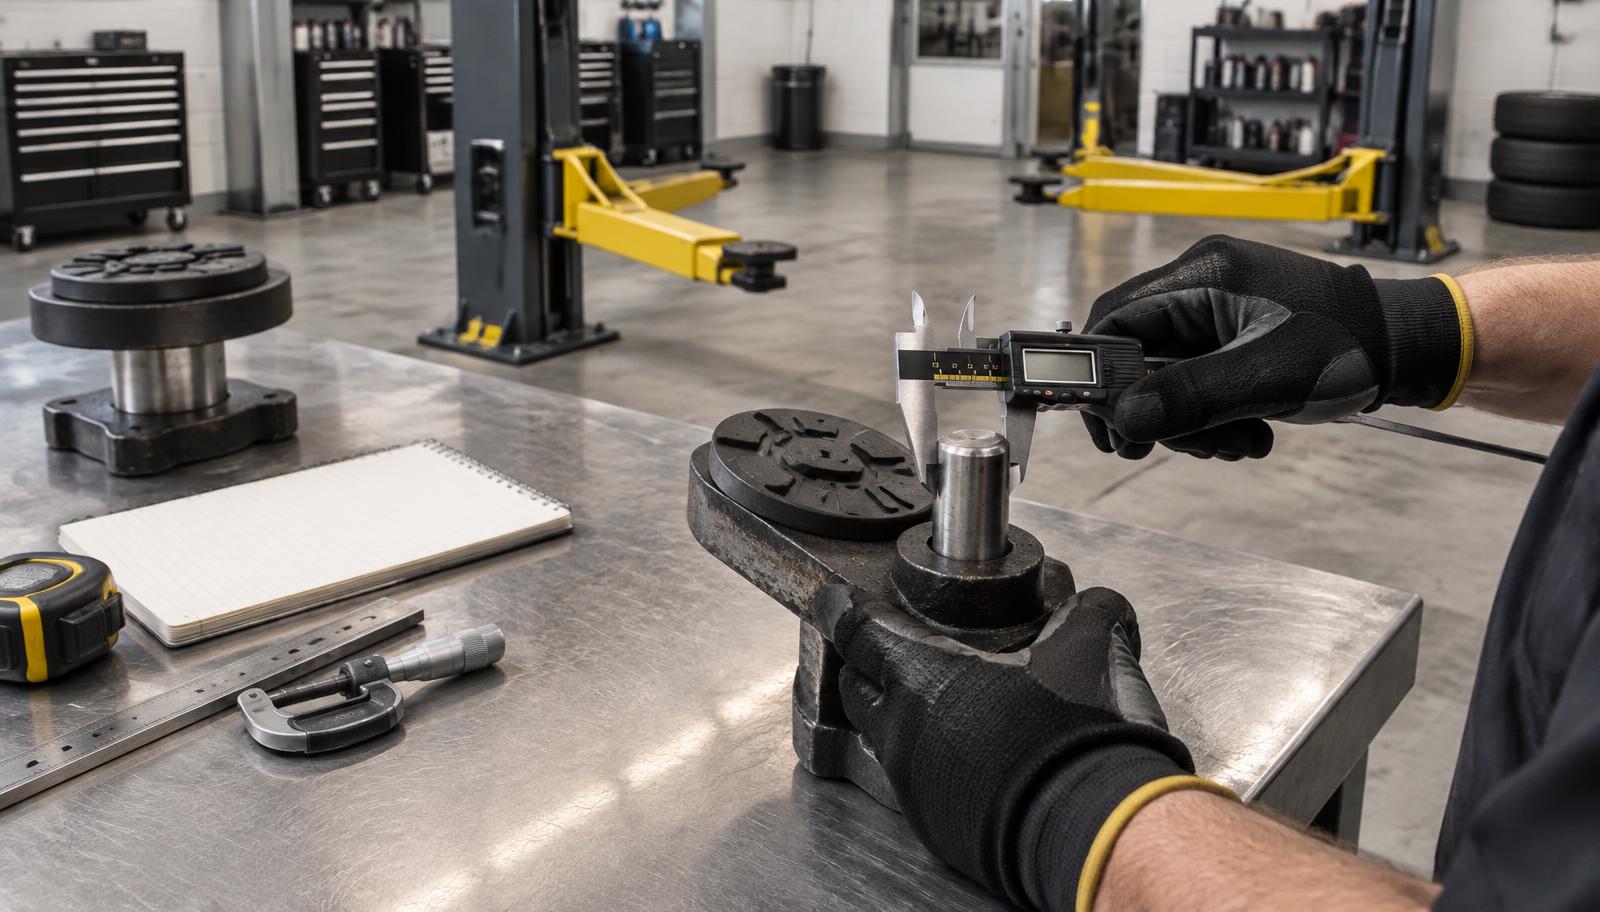
Choosing 2 post lift pads requires more than a brand name or product photo. Record the lift model and serial number, identify the mounting method, and measure the pin, thread, bolt pattern, contact top, rubber thickness, and overall height that apply to your assembly. The manufacturer's manual is the authority for compatible parts and safe use. A disciplined measurement sheet helps a supplier distinguish between parts that look alike but connect to the lift arm differently.
Key takeaways: Use a caliper for a drop-in pin or threaded rod. Measure bolt holes center to center. Separate rubber thickness from total assembly height. Photograph the top and underside. Confirm every result against the exact lift model before ordering.
Why do measurements matter for 2 post lift pads?
Measurements define the connection that keeps a contact assembly seated on the lift arm. Small differences in a pin, thread, or bolt pattern can prevent full engagement even when the rubber top appears identical. Overall height also affects whether all contact points can meet the vehicle as the manufacturer intended.
The starting point is the lift's data plate, usually on a column or base. Copy the make, model, and serial number exactly. Do not shorten a suffix or assume two lifts bought together use the same parts. Compare this information with the operator manual and parts diagram before removing anything.
Use the broad 2 post lift pad catalog to understand the available families after you identify the equipment. It is a shopping index, not a substitute for the manufacturer's fitment information.
How do you measure a drop-in pad pin?
A drop-in pad locates through a cylindrical pin or sleeve. The critical dimensions can include pin diameter, usable pin length, shoulder size, and any step between sections. Pads4Lifts specifically tells shoppers browsing drop-in lift pads to measure pin diameter with a caliper, not a ruler.
Remove the pad according to the lift manufacturer's procedure and wipe the pin clean. Close the caliper gently around a straight, unworn section. Take readings in more than one location because a damaged or worn pin may no longer be round. Measure from the underside of the supporting plate to the end of the usable pin, then note any shoulder or reduced section separately.
Inspect the receiving hole too. A correctly sized new pin cannot repair a bent, enlarged, cracked, or contaminated carrier. If the carrier condition is questionable, stop and follow the manufacturer's service guidance.
How do you measure a spin-up pad?
A spin-up pad uses a threaded rod to adjust contact height. The spin-up lift pads category likewise directs shoppers to measure the threaded rod diameter with a caliper before selecting a top style.
Diameter alone may not identify a thread. Record the thread specification from the manual or a confirmed existing part, including pitch where required. Measure threaded length, total assembly height at its minimum position, and the dimensions of the pad top. Inspect the threads for flattening, corrosion, cross-threading, or looseness.
Do not force a candidate part into the arm to test whether the threads are close enough. A mismatched thread can damage both components. If you cannot identify the thread confidently, send clear measurements and photos to the supplier or lift manufacturer.
What bolt-pattern details should you capture?
A bolt-on rubber pad or contact plate must align with the intended mounting holes and supporting surface. Count the holes, note their arrangement, and measure from the center of one hole to the center of the next. For a rectangular pattern, record spacing in both directions.
Also record hole diameter, whether the holes are round or slotted, and whether the fasteners sit flush, recessed, or proud. Photograph the underside before separating the old rubber from its plate. Keep removed hardware organized by position, but replace or reuse it only as the manufacturer's procedure allows.
Do not elongate holes or substitute an improvised fastener to make a near match fit. The attachment is part of the engineered assembly. Any repair or replacement must preserve the arrangement and capacity specified by the lift manufacturer.
How do you measure the contact top and thickness?
Measure a rectangular or square top in both directions. Measure a round top across its diameter. Record the usable contact surface, not only the maximum dimension of a tapered base. Note grooves, slots, molded studs, recesses, lips, and missing areas.
Rubber thickness is the depth of the rubber contact material. Overall assembly height includes the supporting metal and adjustment mechanism. Record both because they answer different questions. Compressed or torn rubber may not represent its original thickness, so compare several points and use the manual or product specification as a cross-check.
Height should never be adjusted by casually stacking loose pads or blocks. Use only combinations and extensions approved for the lift. Before lifting, all contact points must engage the vehicle's designated lifting locations according to the vehicle and lift instructions.
What should a complete measurement record contain?
A consistent record prevents missed details and lets another technician verify the work. Use this sequence:
- Park the lift empty, secure it as directed, and clean the pad area.
- Record the lift make, complete model, serial number, capacity marking, and arm position.
- Photograph the installed pad, top, profile, underside, and mounting connection.
- Identify the mount type and record pin, thread, or bolt-pattern details.
- Measure contact length and width or diameter, rubber thickness, and total height.
- Note any part numbers molded, stamped, or labeled on the assembly.
- Compare the record with the manual and each product listing before purchase.
Use inches or millimeters consistently and label the unit beside every number. A bare number copied into a message can be misread. Keep photographs square to the measured face to reduce perspective distortion.
How can existing product examples help?
Catalog examples show why complete measurements matter. One listed drop-in assembly, DIG-122, is described with a 1 3/8-inch pin, a rectangular 4-by-5-inch top, 7/8-inch rubber, and a 3/8-inch step. Those details form a profile; none should be generalized to another lift.
Other listings can share one dimension while differing elsewhere. Use examples to learn which fields to collect, not to infer compatibility. A product name, photograph, or shared brand reference cannot replace a matching model or a complete dimensional comparison.
When a product lists several compatible makes or models, confirm that your exact equipment and configuration are included. Previous repairs may also have changed the assembly on the arm, which makes direct inspection especially important.
What measurement mistakes cause wrong orders?
The most common mistake is using a ruler for a pin that requires caliper accuracy. Another is measuring across the edges of bolt holes instead of from center to center. A third is recording the rubber top but ignoring the metal plate, stem, thread, or sleeve.
Technicians also sometimes measure one corner of compressed rubber and report it as original thickness. Others identify the lift only by brand, omit a model suffix, or assume all four arms use the same assembly. Each shortcut removes information needed to confirm fit.
Do not test questionable fitment with a vehicle. A pad that rocks, binds, sits partially engaged, or differs from the documented setup should be removed from consideration. Follow the lift manufacturer's manual and applicable safety requirements for inspection, installation, testing, and return to service.
How should you prepare before ordering?
Put the data plate photo, manual reference, measurement sheet, pad photos, and desired quantity in one folder. Compare the candidate's pin or thread, mounting pattern, contact top, height, and stated fitment one line at a time.
If any field is unknown, do not guess. Call Pads4Lifts at 888-588-9555 and provide the lift make, model, arm style, pad dimensions, and mounting method. Clear information is more useful than a photo alone.
Measure once, verify twice
Correct 2 post lift pads begin with exact equipment identification and a repeatable measurement process. Use a caliper where required, distinguish the contact surface from the complete assembly, document the mount, and compare every candidate with the manual. That preparation reduces wrong-part orders and gives your team a reliable record for future inspections and replacements.
Frequently Asked Questions
Do all 2 post lift pads use the same pin size?
No. Pin diameter, usable length, shoulders, and receiving holes vary by lift and model. Measure with a caliper and confirm the lift documentation.
What is the difference between drop-in and spin-up pads?
A drop-in pad seats through a pin or sleeve, while a spin-up pad uses a threaded rod to adjust height. Their mounting details are not interchangeable.
How do I measure a lift pad bolt pattern?
Count the holes and measure from the center of one hole to the center of the next in each direction. Also record hole diameter and arrangement.
Can I estimate lift pad thickness from a photo?
No. Perspective and wear make photographs unreliable for dimensions. Measure the part directly and distinguish rubber thickness from total assembly height.
Still need help finding the right lift part?
Tell us your lift model and measurements. We will help you confirm the fit before you order.