
Lift Pad Selection
How to Choose the Right Car Lift Pads for Your Shop
Choose car lift pads by matching the lift model, mount, dimensions, and vehicle mix. Learn what to verify before ordering.
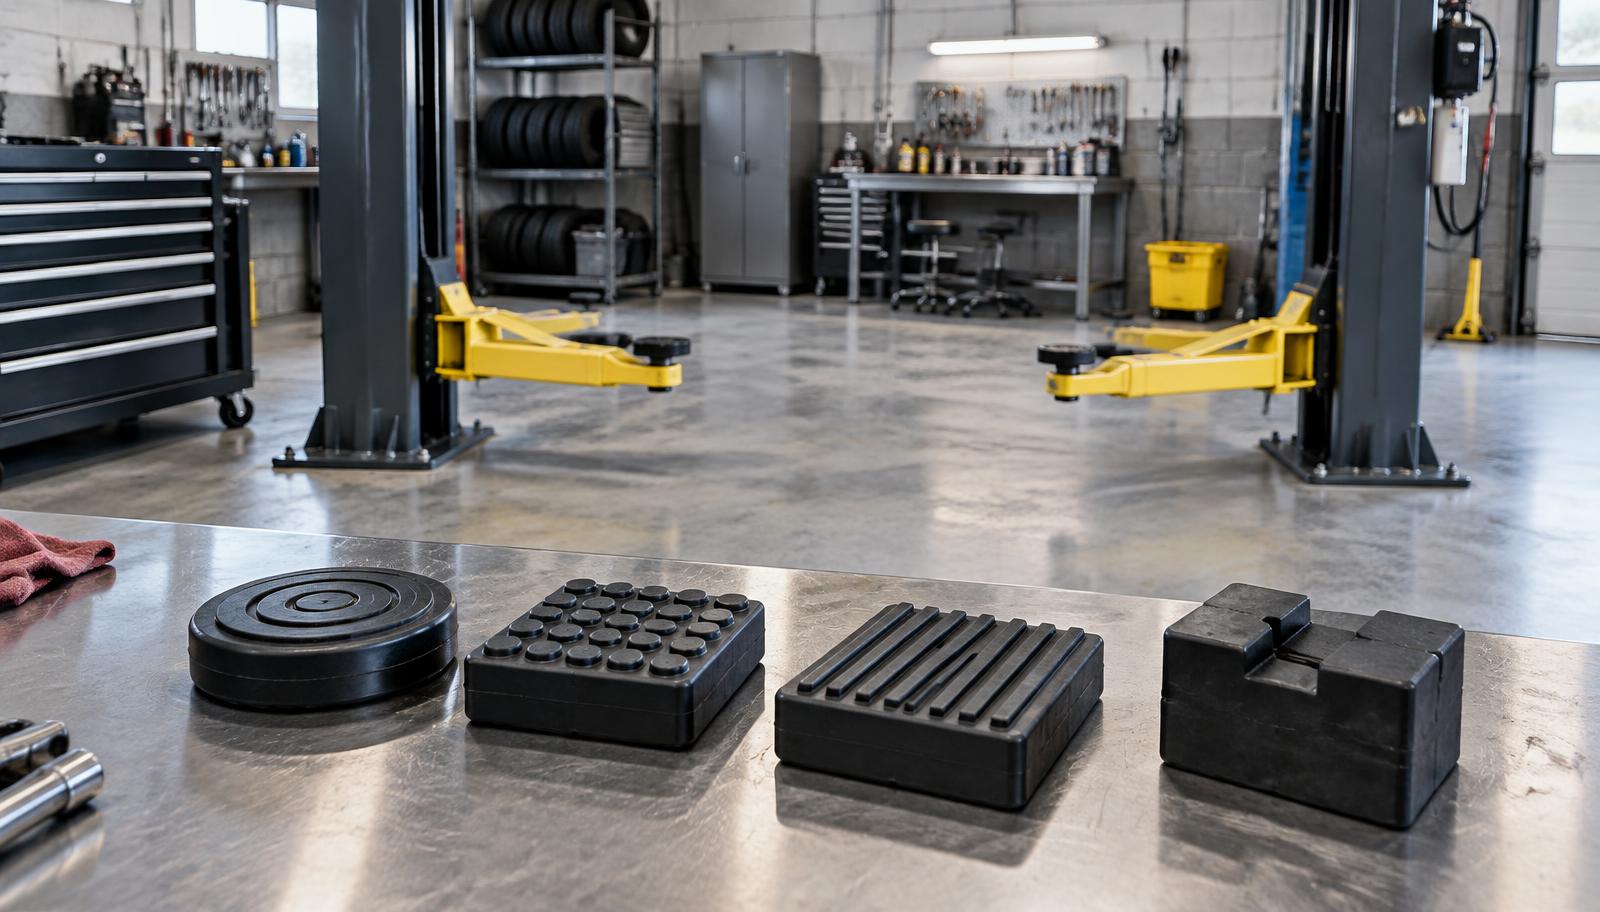
Choosing the right car lift pads starts with four facts: the lift make and model, the arm and pad mount, the dimensions of the current contact assembly, and the vehicles your shop services. A pad that merely looks similar may not seat, adjust, or contact the vehicle as intended. Treat the pad as a lift component, not a universal rubber block. Record the lift identification, inspect the complete mounting arrangement, measure it carefully, and compare those details with the lift manufacturer's manual before ordering.
Key takeaways: Identify the lift before the pad. Match the mounting method before choosing a shape. Measure the existing assembly with appropriate tools. Use only manufacturer-approved contact points and accessories. If fitment remains uncertain, call Pads4Lifts at 888-588-9555 with the model and measurements.
What determines which car lift pads fit?
Fit is determined by the complete interface between the lift arm, pad assembly, and vehicle contact point. Brand is useful, but it is only the first filter. Model, production variation, arm design, pin or thread size, bolt pattern, pad top, and working height can all matter.
Start at the lift's data plate. Photograph the manufacturer, model, serial number, and any capacity information without relying on memory. Then locate the matching parts diagram or operator manual. A shop with several similar lifts should label its measurements by bay so notes from one machine are not accidentally used for another.
The broad automotive lift pads catalog is useful after this identification step. It shows the available families, but your lift documentation and direct measurements control the final choice.
How do pad mounts differ?
A pad mount is the mechanical connection between the contact surface and the lift arm. Common catalog groups include drop-in pads and spin-up pads, while some applications use a bolted rubber piece on an existing metal adapter. These formats are not interchangeable just because their tops share a shape.
A drop-in assembly uses a pin or sleeve that seats in a receiving hole. Pin diameter is therefore a decisive measurement. The Pads4Lifts drop-in category specifically instructs shoppers to use a caliper rather than a ruler. A spin-up assembly uses a threaded rod, so thread diameter, thread form, engagement, and adjustment range must agree with the lift design. A bolt-on replacement needs the correct number of holes, center-to-center spacing, fastener arrangement, and backing surface.
Inspect the metal beneath the rubber as well. Corrosion, deformation, damaged threads, elongated holes, or a loose carrier may mean the job requires more than a new rubber surface. Follow the manufacturer's service procedure rather than using a new pad to conceal damaged mounting hardware.
Does lift pad shape determine compatibility?
Shape describes the contact surface, not the entire fitment. Round, square, rectangular, octagonal, and block styles can help you organize a search, but the part underneath still has to connect correctly to the arm.
The lift pad style directory separates those five shapes. Use it as a visual and dimensional filter only after confirming the mount. Compare overall length and width, or diameter for a round part, plus rubber thickness and any recesses, studs, or holes.
Do not choose a larger contact top simply because it appears to spread load. The vehicle manufacturer identifies the lifting points, and the lift manufacturer defines acceptable contacts and accessories. The correct part must let the arm reach that point without contacting rocker trim, underbody panels, brake lines, exhaust parts, or suspension components.
What measurements should you record?
A useful measurement sheet captures the part as a system. Clean loose dirt from the removed component, place it on a flat surface, and record measurements without compressing the rubber.
- Record the lift make, model, serial number, arm style, and bay.
- Identify the mount as drop-in, threaded spin-up, bolt-on, slip-on, or another documented design.
- For a pin, measure diameter with a caliper, then measure usable length and any shoulder or step.
- For a threaded mount, identify the thread specification from documentation and measure the rod.
- For a bolt-on pad, count holes and measure center-to-center spacing in both directions.
- Measure the contact top's length and width or diameter, plus rubber thickness and overall assembly height.
- Photograph the top, underside, profile, attachment points, and any legible part number beside a ruler for scale.
Wear can distort the old pad. Measure an unworn metal feature whenever possible and compare it with the manual. If four positions do not match, document each one rather than assuming they were originally identical.
Should you replace rubber or the complete assembly?
The condition of the supporting hardware answers this question. A rubber kit can be appropriate when the metal adapter is the correct part, remains serviceable, and is designed to accept replacement rubber. A complete assembly may be appropriate when the pin, thread, plate, or carrier is integral to the worn component or no longer serviceable.
Pads4Lifts groups replacement sets in its rubber lift pad kits category. Those kits ship free within the contiguous United States, but the category still contains multiple brand and configuration choices. Confirm the listed dimensions, mounting details, quantity, and stated fitment before treating a kit as a match.
Replacing contact surfaces as a coordinated set can make inspection and maintenance easier, but do not assume every lift requires four identical pieces. Check the lift's parts information for front and rear arm differences or other position-specific requirements.
How should your vehicle mix affect the choice?
Your vehicle mix affects reach and workflow, but it does not override equipment compatibility. A general repair shop may move from low-clearance cars to body-on-frame trucks in the same bay. That range can make adjustable contacts useful when the lift manufacturer approves them. A fleet shop with repeated vehicles may prioritize a consistent setup and documented inspection routine.
Review several recent repair orders and note the factory lift points used in each bay. Look for recurring clearance problems, not improvised solutions. If the existing arms cannot reach an approved point, investigate the correct lift adapter rather than stacking loose blocks or combining parts that were not designed together.
Also consider storage and control. Keep matched pieces together, identify the lift they belong to, and remove damaged components from service so they cannot return to a bay by mistake.
What are the common selection mistakes?
The first mistake is ordering by brand alone. One manufacturer can use several mounts across different models. The second is comparing only the rubber top while ignoring the pin, thread, bolt pattern, or carrier beneath it.
The third is measuring with the wrong tool. A ruler can blur the difference between close pin sizes; use a caliper where the catalog calls for one. The fourth is copying dimensions from heavily worn rubber without checking a sound metal reference or the manual. The fifth is mixing heights to compensate for an unrelated arm or floor problem.
Never grind, drill, weld, shim, or stack a component to force a fit unless the lift manufacturer provides a specific approved procedure. Do not lift a vehicle when a contact pad is loose, cracked, missing material, contaminated, or unable to sit squarely. The lift manufacturer's manual and applicable workplace safety requirements always control inspection, setup, capacity, and use.
How do you make the final buying decision?
Build a short parts request containing the lift identification, mount type, all dimensions, desired quantity, and clear photos. Compare every candidate against that record. Read the complete product description, including notes about fitment and what is included.
If one detail conflicts, stop and resolve it before ordering. A correct top dimension does not cancel a wrong pin diameter. A familiar part number does not cancel a different lift model. When the catalog does not establish a match, call Pads4Lifts with the lift make, model, arm style, pad dimensions, and mounting method.
Choose from evidence, not appearance
The right car lift pads are the ones documented for the lift and verified against the hardware in front of you. Begin with the data plate and manual, identify the mount, measure the assembly, then use shape and vehicle mix to narrow the remaining choices. That sequence protects shop time and makes the final fitment decision easier to explain, repeat, and inspect.
Frequently Asked Questions
Do all car lift pads fit every lift brand?
No. Mounting style, dimensions, threads, pins, and arm interfaces vary by lift manufacturer and model. Confirm the exact lift and its documentation before ordering.
Does pad shape determine whether a lift pad fits?
No. Shape describes the contact top, while the pin, thread, bolt pattern, carrier, and dimensions determine how the pad connects to the lift.
Can I replace only the rubber on a lift pad?
Only when the existing metal adapter is serviceable and designed for replacement rubber. Damaged carriers, pins, threads, or plates may require a complete assembly.
How often should car lift pads be inspected?
Follow the lift manufacturer's manual and applicable safety requirements. Inspect contact surfaces and mounting hardware before use and remove questionable parts from service.
Still need help finding the right lift part?
Tell us your lift model and measurements. We will help you confirm the fit before you order.